How to Create and Use Webhooks
Introduction
Biotz provides webhook subscriptions for its alarms. In short, a webhook is a method used by one application (e.g., Biotz) to send data to another application (e.g., to a customer's application) when a specific event occurs. In this case, the event can be one of two things:
- a given alarm has been triggered, or
- a device event has been received.
Prerequisites
There are no prerequisites for creating a webhook. However, webhooks are used to notify external applications that a given alarm has been triggerd, or that a device event has been received. Therefore, in order for the webhooks to be invoked, you will need a device type that defines at least one message type and schema, and one alarm for that message type and schema, or a device event.
It is also recommended to have a device that transmits some data that can trigger that alarm, or that sends that device event message.
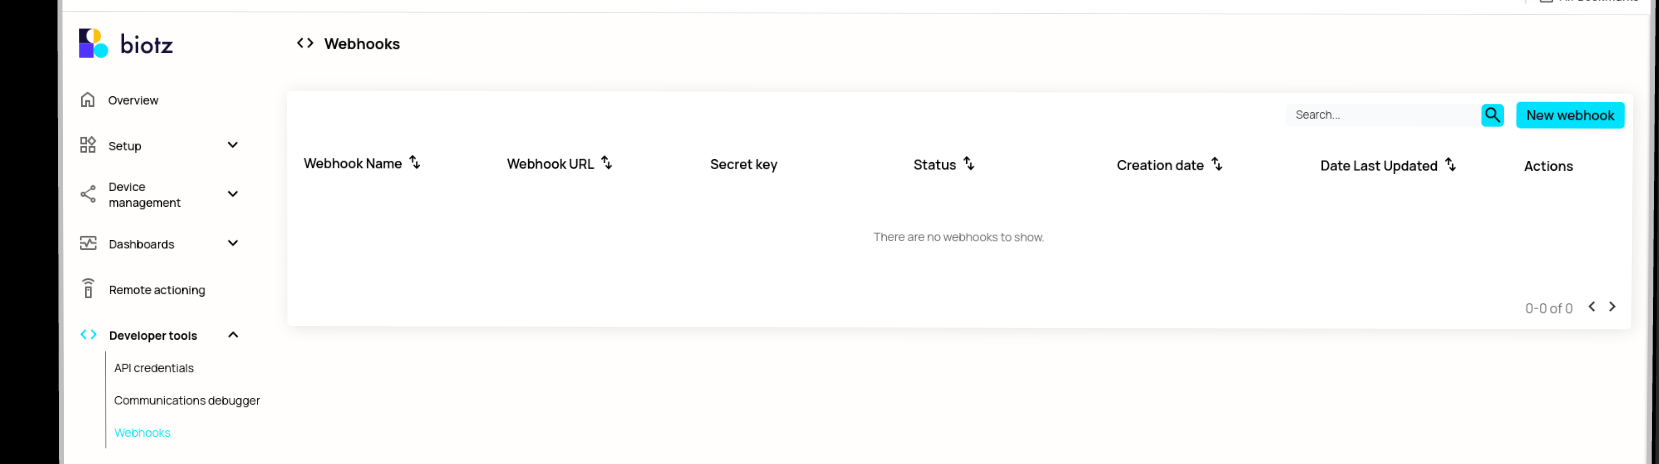
Creating a Webhook
Webhooks are created from the "Developer Tools" section in the sidebar. To create a webhook, provide a name and the mandatory "callback URL" (i.e., the URL to which the webhook data will be pushed). Webhooks only support HTTPS URLs.
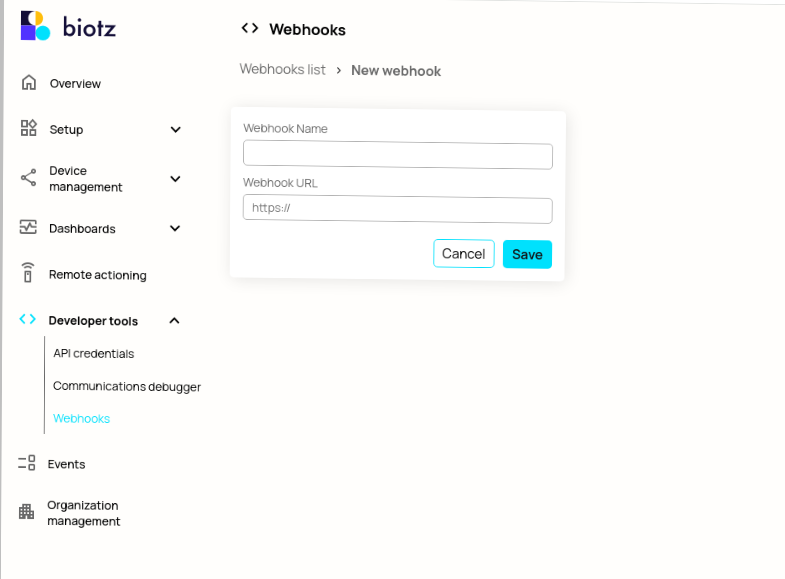
Clicking "New Webhook" takes you to a form where you can enter the name and URL for your webhook.
Upon clicking "Save," the webhook is created, and a "secret" is automatically generated. It is advised to regenerate the secret regularly.
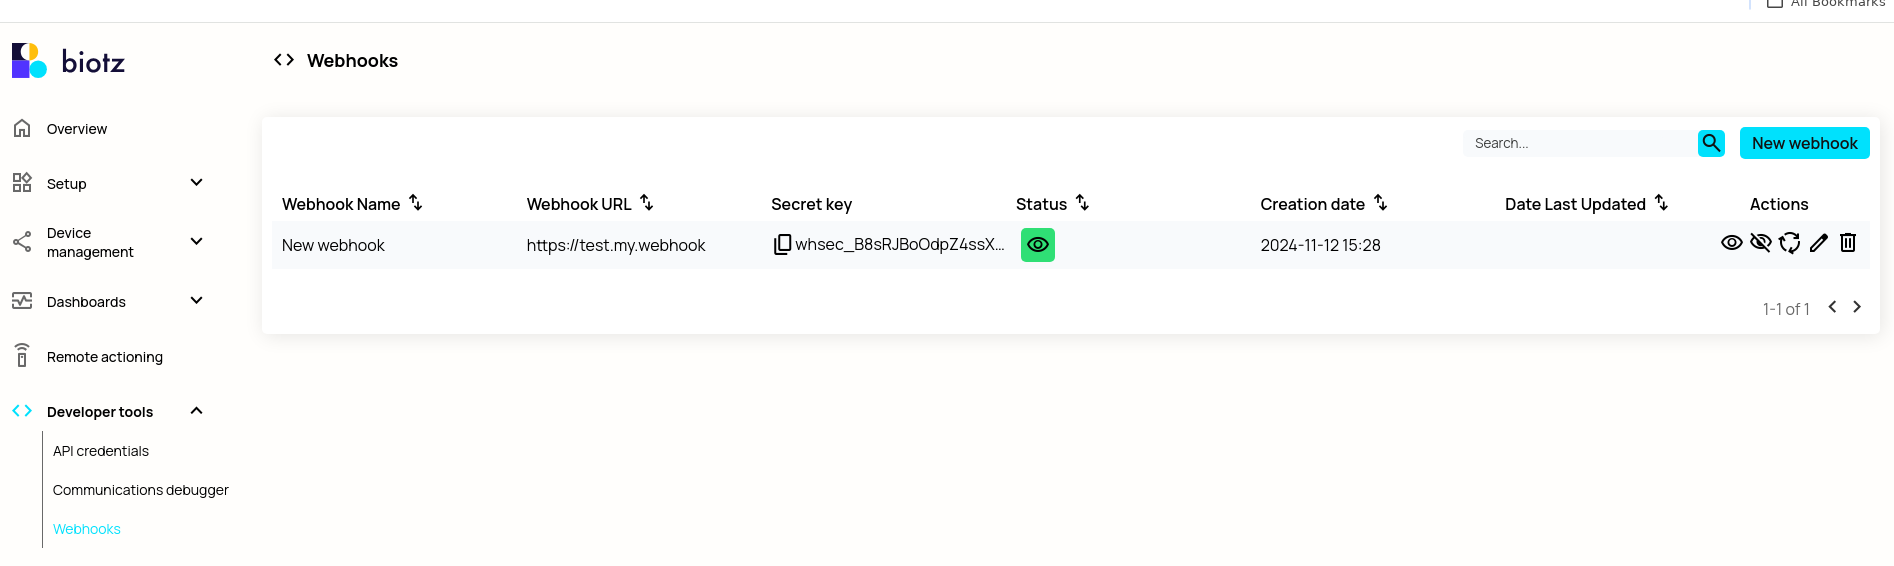
Now the webhook is ready for use. Do not forget to take note of the webhook's secret, as you will need it to verity the webhook calls in the external application. In any case, you can always come back to the Webhooks management view and copy its secret at any time.
Registering a Device Alarm with the Webhook
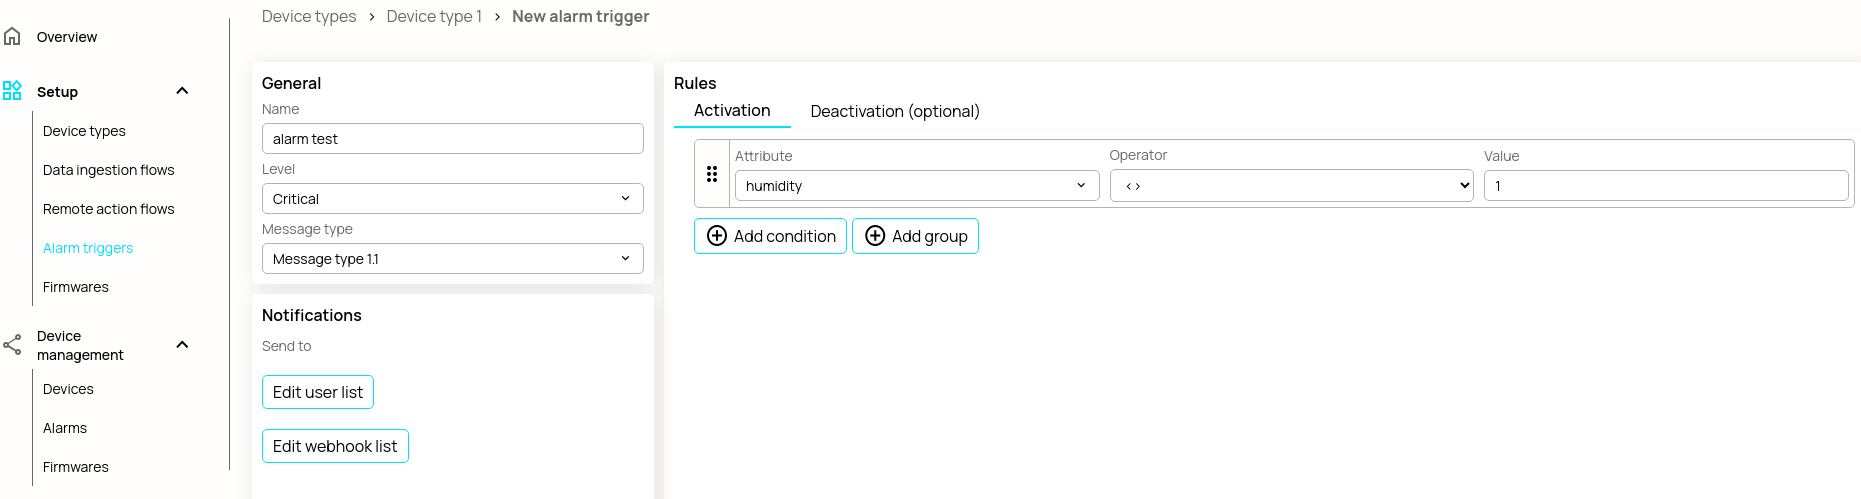
For a webhook to be useful, it must be subscribed to a Biotz event. Currently, only alarm notification events support webhook integration. To add one, navigate to "Alarm Triggers" under the "Setup" section in the sidebar and choose a device type (e.g., Device Type 1).

Then either create or edit an alarm trigger and click "Edit Webhook List."
Search for your webhook by name, add it from the dropdown, and then save. Now you can proceed to actually use the webhook from your app.

Receiving Webhook Data
If all the above steps were followed and there is at least one device that generates alarms, then alarm data will be sent to the webhook URI via POST.
From the client side, there should be validation of the webhook via the "Biotz-IoT-Signature" header entry. The Biotz-IoT-Signature has the following structure:
Biotz-IoT-Signature: t=1492774577,v1=d4e5f6a7b8c9d0e1f2a3b4c5d6e7f8a9b0c1d2e3f4a5b6c7d8e9f0a1b2c3d4e5,
Where the string following t= is a timestamp and the one following v1= is the signed payload of the event and is created by first concatenating:
- The string timestamp, the same as the t= part of Biotz-IoT-Signature
- The character
. - The actual alarm payload in JSON (the body of the POST request)
And then generating an HMAC-SHA256 hash of the concatenation using the webhook secret key.
For extra security and to prevent replay attacks, the client should also compare the provided timestamp with the timestamp when they received the webhook.
It is advisable to accept the webhook only within a specified time window.